
Article
How to Install cPanel on a Fresh VPS (2025 Server Setup Guide)
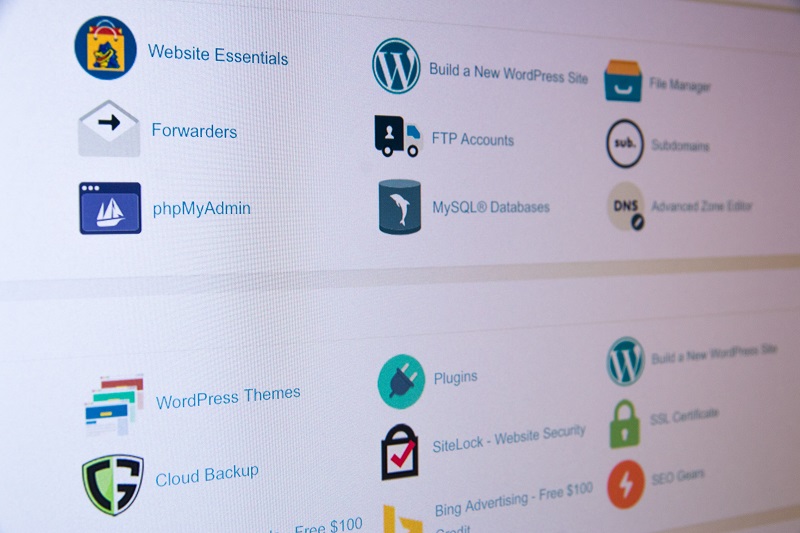
Spinning up a new VPS is the easy part. Turning it into a server your clients can actually use — with accounts, email, DNS, and a familiar control panel — is where most projects slow down. If you have chosen cPanel and WHM as your stack, this guide walks you through installing and activating cPanel on a fresh VPS in 2025, from server prep to the first live website.
Whether you are a freelancer launching a client project or a small host adding another node to your fleet, the goal is the same: a clean install, a valid cPanel VPS license, and zero surprises on go-live day.
Before you start: VPS requirements for cPanel
cPanel publishes minimum and recommended specs that change over time. Treat the minimum as a lab environment only. For production workloads in 2025, aim higher:
- CPU: 2 vCPU minimum; 4 vCPU for reseller workloads or busy WordPress pools
- RAM: 4 GB absolute floor; 8 GB or more for comfortable WHM operation
- Disk: 40 GB+ SSD or NVMe — cPanel, OS, and backups consume space quickly
- OS: AlmaLinux 8/9, Rocky Linux 8/9, or CloudLinux 8/9 (verify current compatibility before install)
- Network: A static public IPv4, hostname pointing to that IP, and ports 2087 (WHM), 2083 (cPanel), 80, and 443 open
Confirm your provider allows the required ports. Some budget VPS plans block mail ports by default — know that before you promise email hosting to customers.
Step 1 — Prepare the hostname and DNS
cPanel is picky about hostnames. A mismatched or generic hostname causes SSL warnings, license validation headaches, and confusing support tickets later.
- Choose a fully qualified domain name (FQDN), e.g.
server1.yourbrand.com - Create an A record pointing that hostname to your VPS public IP
- Set the server hostname through your VPS panel or via
hostnamectl set-hostname server1.yourbrand.com - Verify with
hostname -f— it must match the DNS record
If you are unsure about DNS propagation, wait until the record resolves globally before running the installer. Rushing this step is one of the most common reasons activation fails on first attempt.
Step 2 — Purchase the right license type
Not every cPanel license works on every machine. A VPS or cloud instance needs a VPS/cloud license, not a dedicated-metal license. Installing the wrong tier wastes time and may require a support reset.
Compare options on our pricing plans page — the cPanel VPS tier starts at $4.50/month and includes WHM with unlimited accounts. Need context on keeping costs manageable long-term? Read how to reduce your cPanel license fee before you commit to a billing cycle.
Complete checkout through the cPanelSave client area so your license ties to your account and support can assist if activation stalls.
Step 3 — Run the cPanel installer on a clean OS
Always install on a fresh operating system. Reusing a server that previously ran another control panel, Docker-heavy stacks, or custom firewall rules invites conflicts.
General installation flow:
- Update the OS:
dnf update -yon AlmaLinux/Rocky - Disable SELinux only if your runbook requires it — many admins set it to permissive during install, then re-enable
- Download the official installer:
cd /home && curl -o latest -L https://securedownloads.cpanel.net/latest - Execute:
sh latestand monitor the log — installs typically take 30–90 minutes - When complete, browse to
https://YOUR_IP:2087for WHM and complete the initial setup wizard
Do not run the installer on a production server that already hosts live sites unless you have full backups and a rollback plan. Greenfield VPS installs are dramatically smoother.
Step 4 — Activate your license in WHM
After installation, WHM prompts you to add a license key. If you purchased through cPanelSave, apply the activation from your client dashboard or follow the instructions in your order confirmation email.
Quick checklist:
- Server IP matches the IP registered to the license
- Hostname resolves correctly to that IP
- No secondary NAT or floating IP mismatch between billing and server
- Outbound connections to cPanel license servers are not blocked by firewall
Stuck? Our FAQ section covers common activation errors, and you can reach the team through Contact Us if the server still will not validate after DNS and IP checks.
Step 5 — Harden WHM before creating accounts
A default install is not a production-ready install. Before you create your first cPanel account, tighten the foundation:
Update everything
Run Update Configurations in WHM and apply all available package updates. Staying current closes the gap between install day and the latest security patches.
Configure basic security
Enable cPHulk brute-force protection, restrict WHM access to trusted IPs if your team has static addresses, and review how to secure cPanel for a deeper checklist covering ModSecurity, two-factor authentication, and account isolation.
Set up backups immediately
Configure backup destinations in WHM — local plus remote (S3, SFTP, or another VPS). New hosts often skip this until the first client disaster. Do not be that host.
Step 6 — Create packages and your first account
WHM uses packages to standardize resource limits across accounts. Define packages before onboarding clients:
- In WHM, go to Add a Package and set disk, bandwidth, email, and database limits
- Create a test account under Create a New Account using a subdomain or staging domain
- Log into the cPanel user interface, deploy a test site, and verify PHP, SSL, and email routing
- Remove the test account or keep it as a monitoring canary — your call
Once the test account works end to end, your VPS is ready for real workloads.
Optional but recommended: LiteSpeed and CloudLinux
Plain cPanel on a well-provisioned VPS handles many workloads fine. But if you are building a hosting business — not just managing one site — consider stacking complementary licenses:
- LiteSpeed Web Server — measurably faster PHP and WordPress performance; see our guide on using cPanel and LiteSpeed together
- CloudLinux — per-account resource isolation that prevents one noisy neighbor from degrading the entire node; available from $4.00/month on our plans page
Still deciding between web servers? The comparison article LiteSpeed or Apache breaks down when each option makes sense for a cPanel host.
Common mistakes that waste an afternoon
We see the same issues across support tickets. Avoid them upfront:
- Installing on Ubuntu or Debian — cPanel targets RHEL-family distros; check official compatibility before you provision
- Skipping hostname DNS — license and AutoSSL both depend on a proper FQDN
- Wrong license tier — VPS license on dedicated hardware or the reverse
- No swap on low-RAM VPS — 4 GB nodes can OOM during install or backup windows without swap configured
- Opening every port to the world — harden WHM access; your panel should not be a public invitation
When to choose cPanelSave for your VPS license
If you already manage the server and only need reliable licensing, cPanelSave focuses on what matters: correct VPS vs. dedicated tiers, direct updates, unlimited accounts on WHM, and support since 2017 from a team that works with cPanel every day.
Explore the full product lineup on our licenses page, compare monthly costs on plans, and browse more hosting guides on the blog.
Frequently asked questions
How long does a cPanel VPS install take?
On a typical 4 vCPU / 8 GB VPS with AlmaLinux, expect 30 to 90 minutes for the official installer to finish. Network speed and disk I/O are the main variables.
Can I install cPanel on an existing server with websites?
Technically possible, but strongly discouraged. Migration should use a controlled transfer tool or manual move — not an installer run on a live production box with data at risk.
Do I need a separate license for WHM and cPanel?
No. A standard cPanel VPS license includes WHM (server administration) and cPanel (end-user interface) as one package.
What happens if my license expires?
WHM and cPanel enter a degraded state — updates stop and the interface warns you. Renew before expiry; set a calendar reminder one week ahead of your billing date.
Is a VPS license cheaper than a dedicated license?
Yes. VPS/cloud licenses are priced for virtual environments. Dedicated licenses cost more because they target bare-metal servers. Match the license to your hardware type — details are on our plans page.
Ready to go live?
A fresh VPS plus a properly activated cPanel license is the foundation of thousands of profitable hosting businesses. Prepare the hostname, choose the right license tier, run a clean install, harden WHM, and validate with a test account before onboarding paying customers.
When you are ready to activate, pick your plan on cPanelSave pricing, complete checkout at panel.cpanelsave.com, and get your server online — the right way, the first time.
Buy a cheap cPanel license with unlimited WHM accounts — VPS from $4.50/mo, dedicated from $8/mo. Direct updates and 24/7 support.